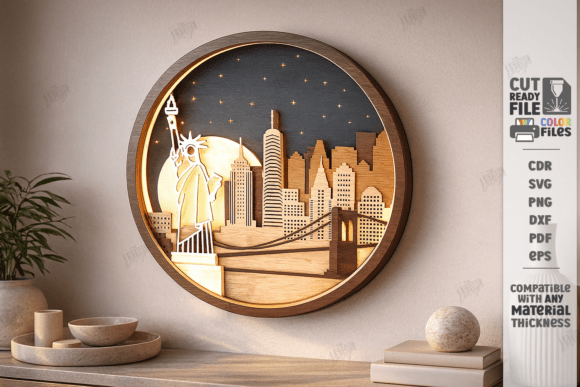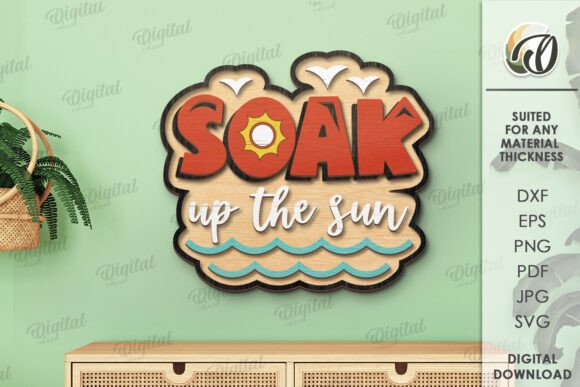
Mastering the Layered Summer Sign Laser Cut: A Guide to Flawless Digital Crafting
There is a distinct satisfaction in watching a laser cutter bring a digital design to life, especially when that design captures the vibrant, relaxed essence of summer. The Layered Summer Sign Laser Cut has become a staple for crafters looking to add dimension and visual interest to home decor, party backdrops, and retail displays. However, the transition from a digital file on your screen to a physically assembled, multi-layered sign is not always as straightforward as it seems. Many creators, from seasoned professionals to enthusiastic beginners, encounter avoidable pitfalls that can compromise the structural integrity or aesthetic appeal of their final product.
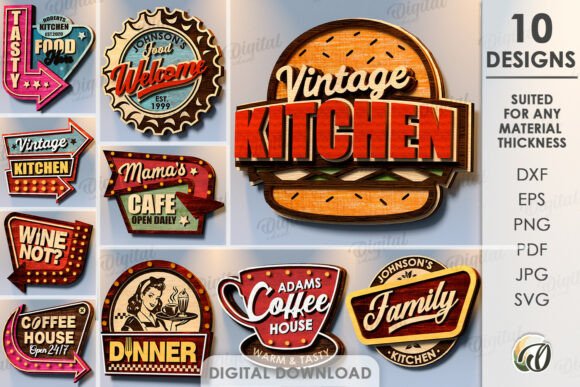
Understanding the nuances of layered designs is crucial. Unlike single-layer cuts, layered signs rely on precise alignment, material contrast, and adhesive management. When you purchase a digital product—such as a zip folder containing SVG, DXF, EPS, PDF, JPEG, and PNG files—you are buying the potential for a beautiful object, not the object itself. The quality of the outcome depends entirely on how you interpret and execute the design. This guide aims to correct common misconceptions and provide practical advice to ensure your next project is a success.
Misunderstanding the Digital Nature of the Product
The most fundamental error occurs before the laser even turns on. It is vital to remember that when you buy a Layered Summer Sign Laser Cut design online, you are purchasing a digital asset. No physical goods will be sent to you. The photos provided in listings are strictly for inspiration and demonstration purposes. Some buyers mistakenly expect pre-cut wood or acrylic pieces, leading to immediate disappointment. Others download the files but fail to verify the formats.
To avoid this, always check your software compatibility before purchasing. While SVG and DXF are standard for most laser cutting software like LightBurn, Glowforge, or Adobe Illustrator, having access to EPS and PDF can be a lifesaver if you need to edit vectors in different programs. Ensure you have the capability to unzip folders and organize these files logically. A disorganized digital workspace can lead to using outdated versions of a design or losing track of which layer corresponds to which color in the preview image.
Overlooking Material Thickness and Tolerance
One of the most frequent technical mistakes involves ignoring material tolerances. Layered signs often feature interlocking tabs, slots, or overlapping edges. If the designer created the file for 3mm plywood, but you are using 4mm acrylic, the pieces simply will not fit together correctly. This mismatch results in gaps, loose fittings, or the inability to assemble the sign at all.
Practical Advice: Always read the product description for recommended material thicknesses. If the designer does not specify, assume a standard 3mm (1/8 inch) unless stated otherwise. Before cutting your final piece, perform a test cut on scrap material. Measure the actual thickness of your material with calipers, as "3mm" plywood can vary significantly between batches. Adjust your kerf settings in your laser software accordingly. This small step saves time, material, and frustration.
Neglecting the Importance of Layer Order
A layered design is not just a stack of shapes; it is a structured composition. A common oversight is assembling the layers in the wrong order. This can obscure critical details, such as text or intricate summer motifs like suns, palms, or waves. For instance, placing a dark background layer on top of a lighter foreground layer will hide the design entirely. Conversely, placing a thin decorative layer at the bottom may make it invisible against a contrasting wall or surface.
When working with a Layered Summer Sign Laser Cut, treat the assembly process like building a sandwich. Identify the base layer first—usually the largest piece that provides structural support. Then, work your way up to the finest details. Use the preview images provided in the digital download as a reference map. If the files are color-coded, match the physical materials to the colors in the preview. This visual cue system is designed to help you maintain the correct hierarchy of elements.
Choosing the Wrong Adhesive
The longevity and cleanliness of your sign depend heavily on the adhesive used. Many hobbyists reach for standard white glue or hot glue guns without considering the long-term effects. White glue can warp thin wood as it dries, causing the layers to bow and misalign. Hot glue adds bulk, creating visible lumps between layers that disrupt the sleek, professional look of a laser-cut sign.
Better Approach: Use spray adhesives or double-sided tape designed for crafting. Spray adhesive allows for an even, thin application that minimizes warping. Apply it in a well-ventilated area, let it become tacky, and then carefully align the layers. For smaller, intricate pieces, precision-tip cyanoacrylate (super glue) can be effective, but use it sparingly to avoid fogging clear acrylic or staining wood. Taking the time to choose the right bonding agent elevates the finish from "homemade" to "handcrafted professional."
Ignoring Weedability and Bridge Points
Digital files for laser cutting are vector-based, meaning they tell the laser where to cut. However, small interior pieces—often called "nuggets"—can fall out during cutting or handling if not properly secured. In complex summer-themed designs featuring leaves, sand dollars, or starfish, these small parts are essential. If they fall out prematurely, reassembling them becomes a tedious puzzle.
Check the design for bridge points or tabs that hold small pieces in place during cutting. If the Layered Summer Sign Laser Cut file does not include these, consider adding small temporary tabs in your software or cutting the design into sections to manage fragility. Additionally, ensure your laser bed is clean and flat. Uneven surfaces can cause incomplete cuts, leaving some layers partially attached and difficult to weed cleanly. A clean cut ensures that each layer sits flush against the next, maintaining the crisp lines that define high-quality laser art.
Failing to Plan for Finishing Touches
The raw edge of a laser-cut piece, whether wood or acrylic, often requires finishing. Wood may have char marks, and acrylic might have slight melting residues. Ignoring these details can detract from the overall presentation. Sanding wood edges lightly before assembly removes char and smooths rough spots. For acrylic, a quick wipe with a microfiber cloth and appropriate cleaner removes fingerprints and dust.
Furthermore, consider the final display environment. Will the sign hang outdoors? If so, you must seal wood layers with weather-resistant varnish to prevent warping from humidity. Indoor signs benefit from a clear matte or gloss sealant to unify the appearance of different wood grains or acrylic colors. These finishing steps protect your work and enhance the visual depth of the layered effect.
Final Checks Before You Cut
Before committing to your final material, take a moment to review your setup. Verify that the scale of the design matches your intended output size. Resizing vector files can sometimes distort proportions if not done uniformly. Check that all layers are aligned correctly in your software preview. Ensure that your laser focus is calibrated for the specific material you are using.
By approaching the Layered Summer Sign Laser Cut with a mindset of precision and preparation, you transform a simple digital download into a stunning physical artifact. Avoiding these common mistakes ensures that your time and resources are invested wisely, resulting in a product that you can be proud to display or sell. Happy shopping, and may your cuts be clean and your layers align perfectly.